|
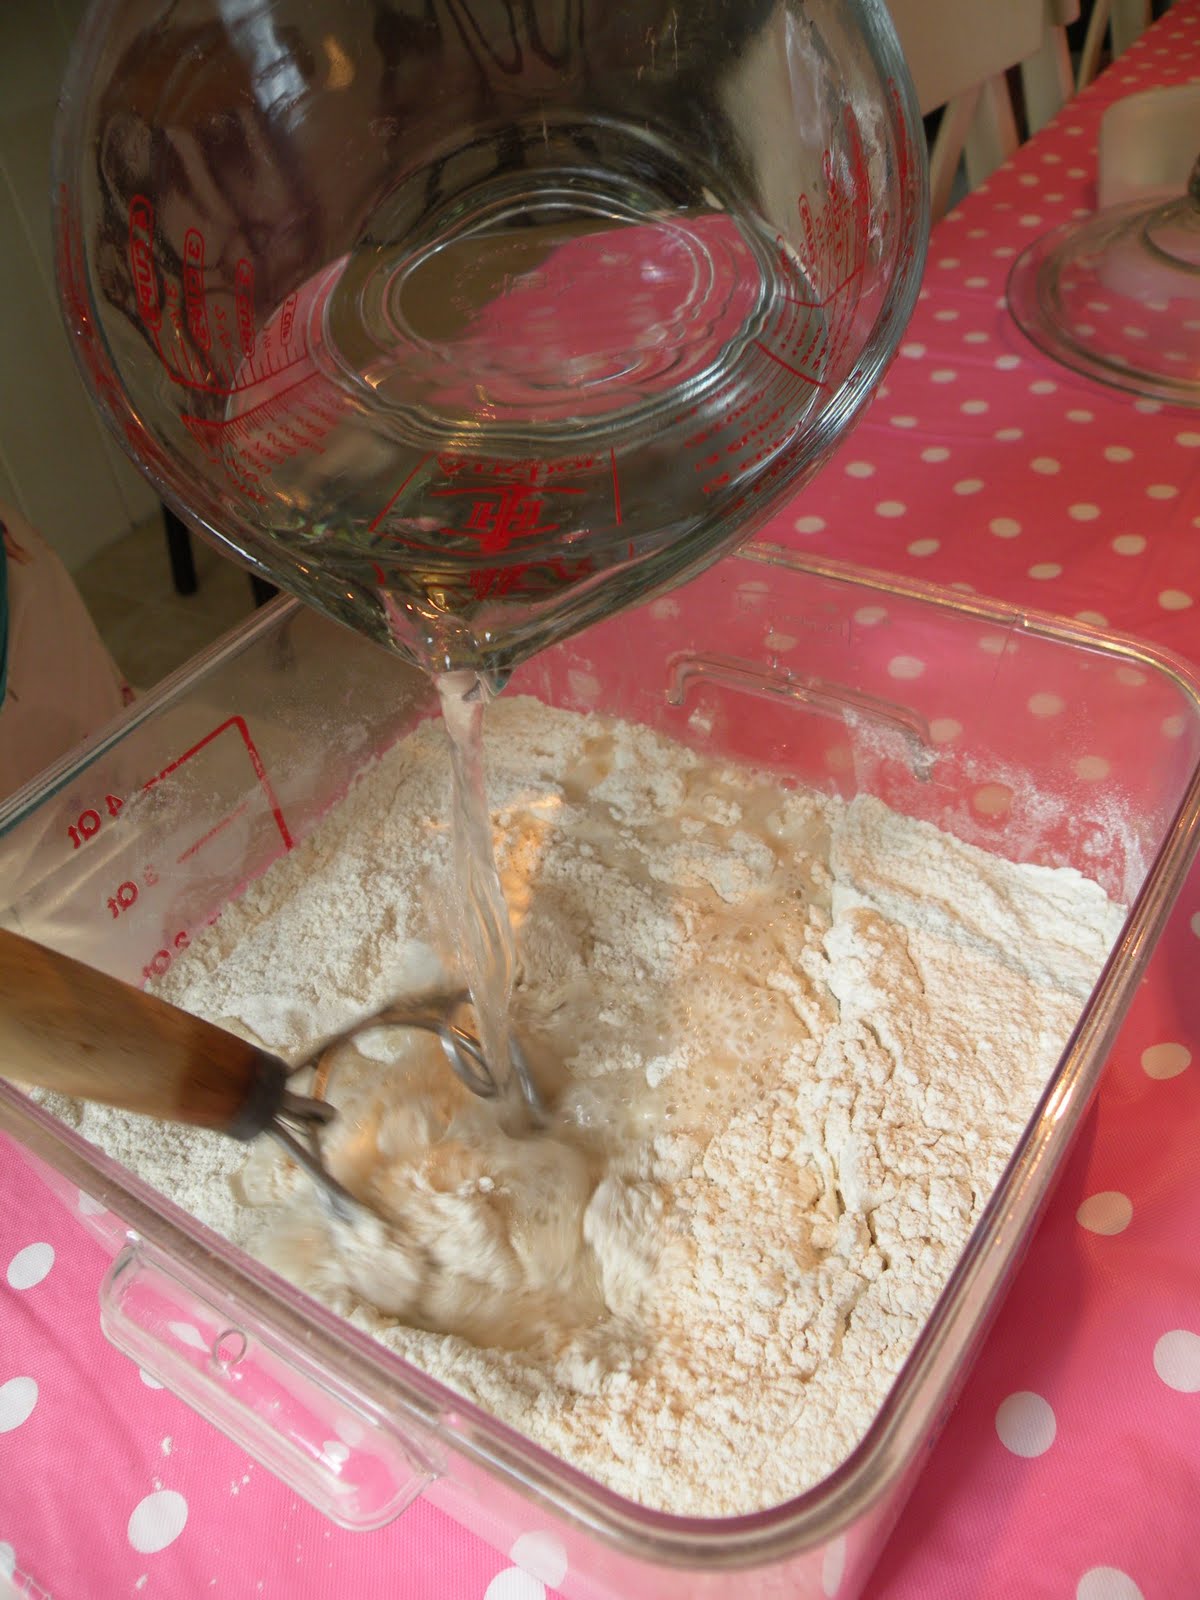
| Five Minute Bread |
Now that you have a
batch of bread dough ready to go, let's shape and bake it!
 |
| Dough right out of the fridge |
Take your dough out and sprinkle one corner liberally with flour.
 |
| Sprinkled with flour |
Pull the corner of dough out of the container, using the flour to keep it from sticking to your hands.
 |
| Pulling dough from container |
Use scissors or your hands to cut off a piece of dough about the size of a grapefruit, or size desired.
 |
| hunk of dough |
Use your hands to gently smooth the top of the dough over and tuck it underneath, forming a smooth ball of dough. (Hard to explain, but it's kinda like tucking in a baby).
 |
| smooth dough |
It is okay if the underneath of your dough is not smooth.
 |
| bottom of dough |
Set your dough on a piece of parchment paper, or well floured pizza peel to rise. Let the dough rise for about 45 minutes*.
 |
| Rising on parchment paper |
Then get your oven ready, place a pizza stone in the middle of your oven and a metal broiler pan (or similar) underneath. If you don't have a pizza stone, use a cookie sheet, it won't be quite the same, but it still works. About 20 minutes before your dough is done rising preheat oven to 450 degrees.
 |
| oven ready (now I realize mine needs to be cleaned) |
When your dough is ready (it won't really rise too much) dust the top lightly with flour and slash it a couple of time to allow it to expand when you put it in the oven.
 |
| slashed and ready for oven. |
Place dough (still on parchment) on preheated stone and add 1 C. hot water to pan underneath and quickly close the door. Bake for 25 minutes until golden brown. Remove the parchment paper from under the bread for the last 10 minutes to help brown up the bottom of the crust.
Cool (um, if you can stand the yummy smell), slice and enjoy!
*If you are like me and get busy and distracted and forget to get your dough out soon enough, you can just let it rise until your oven is hot (approx. 20 minutes) and then bake it-sometimes I give it an extra couple of minutes in the oven to make up for the fact that the dough wasn't quite as warm as if I had let it set the full time. It may not be quite a big but it still tastes good and gets the whole meal on the table at the same time.
Notes:
~The longer the dough sits in the refrigerator, the more of a sourdough taste it will develop.
~There is also a
Healthy Bread In 5 Min. a Day book (which I also own)--I don't care for the sourdough flavor in my wheat breads as much, so when I make the wheat versions, I tend to use them in a day or two.
~They are coming out with a
Pizza Book this fall, I have already pre-ordered my copy.